

Use KORVO in VS Code
Chat with your organization's KORVO models inside VS Code, ask about your code, and let the KORVO agent work in your workspace with your approval.
Set up KORVO in VS Code, step by step
-
Install the KORVO extension
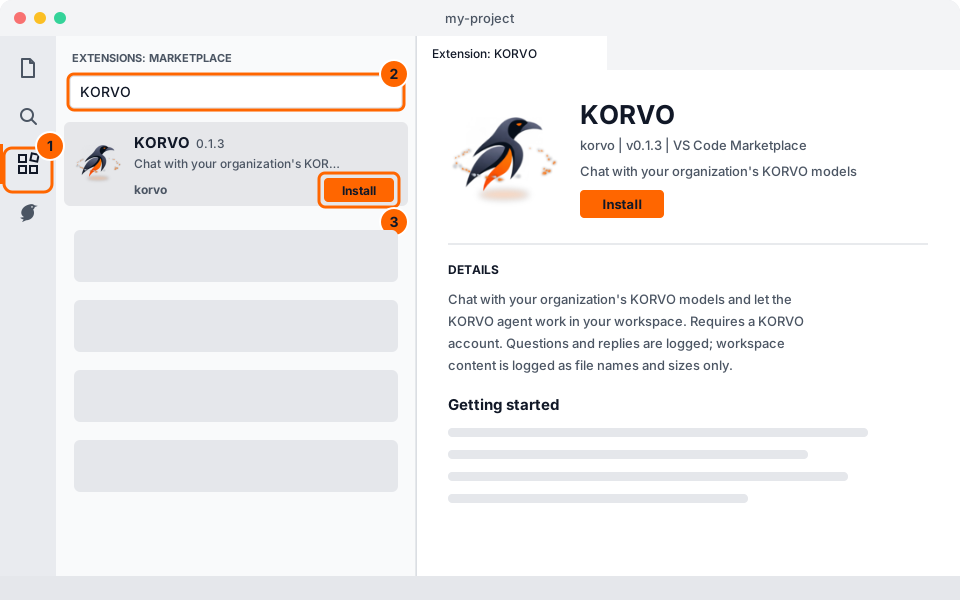
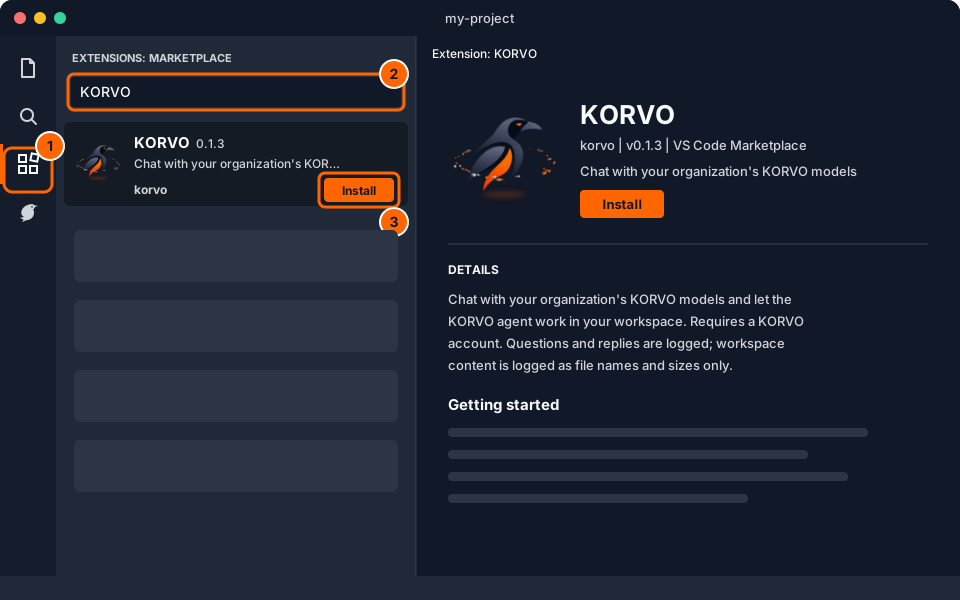
- In VS Code, open the Extensions view: select the squares icon on the left, or press Ctrl+Shift+X (⌘⇧X on a Mac).
- Type KORVO in the search box.
- Choose KORVO in the results and select Install. A KORVO icon appears in the bar on the left.
Install in VS Code View on the Marketplace Download .vsix
Install in VS Code opens VS Code on the KORVO extension's page; select Install there. KORVO is published on the VS Code Marketplace by korvo, and updates install automatically.
No access to the stores? Download the .vsix file, then in VS Code run Extensions: Install from VSIX… from the Command Palette and choose the file. Updates are not automatic for this install; the KORVO panel tells you when a new version is out.
-
Open your access tokens
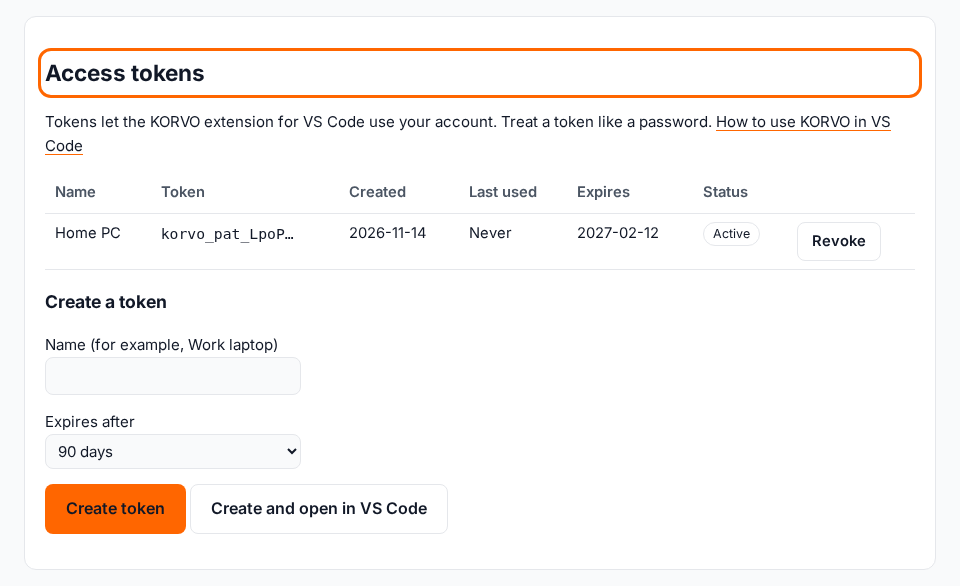
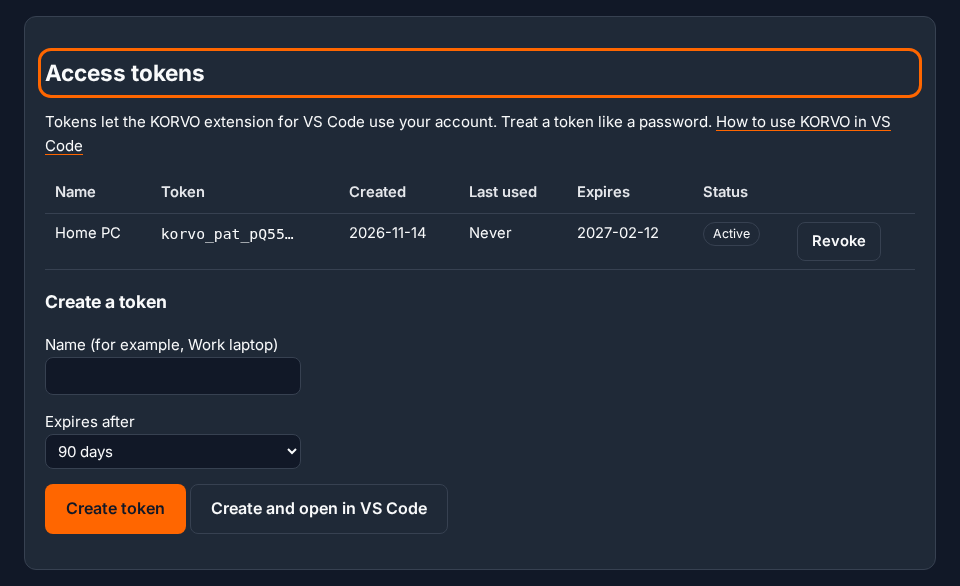
- Sign in to KORVO with Google or Facebook. Your first sign-in creates your account.
- Open My account from your name at the top right, then go to Access tokens.
-
Create a token
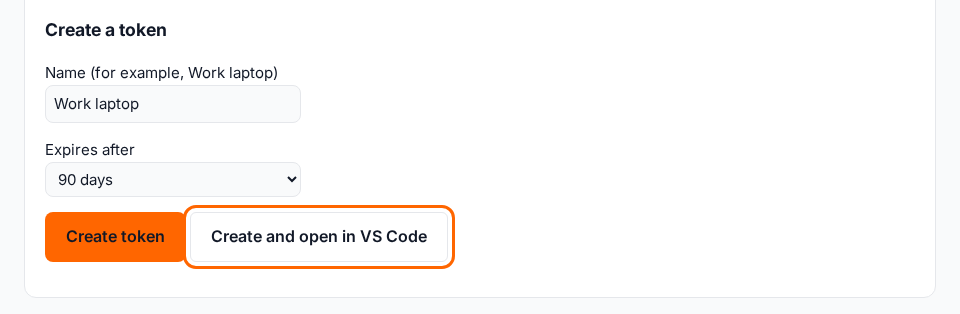
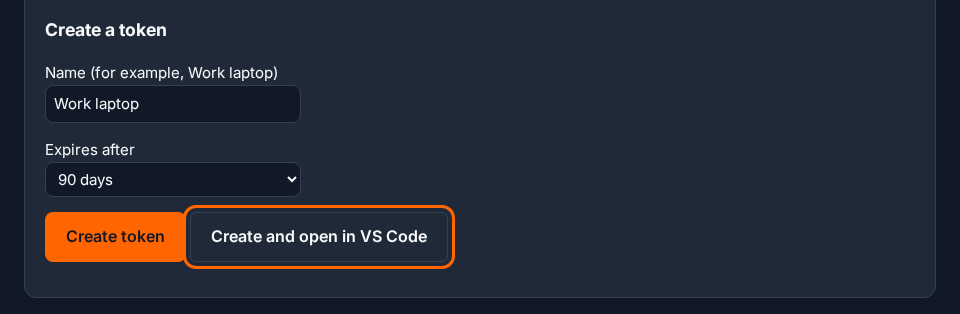
- Give the token a name you'll recognise, such as Work laptop.
- Choose how long it lasts: 30, 90 or 365 days.
- Easiest: select Create and open in VS Code — nothing to copy. Or select Create token and copy the token that appears.
A token is shown only once. Treat it like a password: don't share it or paste it into a chat.
-
Connect VS Code to your account
If you chose Create and open in VS Code: your browser asks to open VS Code, then VS Code asks to confirm the connection. Allow both and you're connected.
If you copied the token:
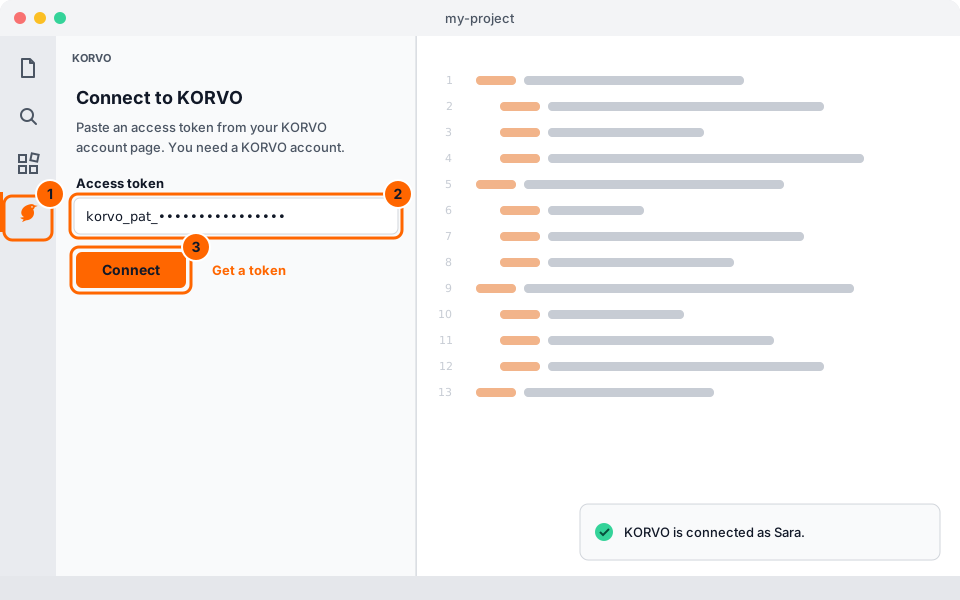
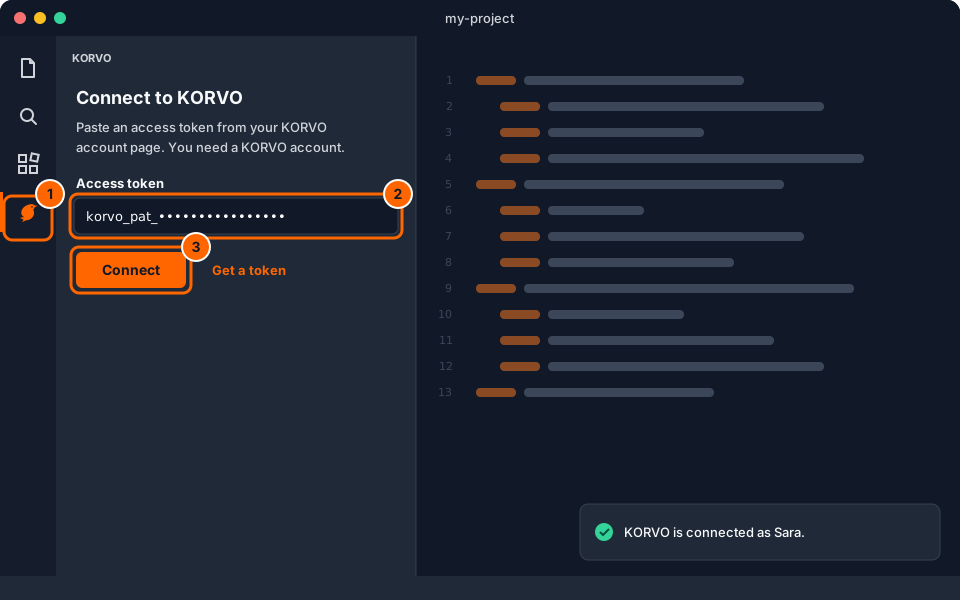
- Select the KORVO icon in the bar on the left of VS Code.
- Paste the token into the Access token field.
- Select Connect. The panel switches to the chat when the token is accepted.
You can also run KORVO: Connect (Enter Token) from the Command Palette (Ctrl+Shift+P). VS Code keeps the token in its secret storage, never in your settings.
-
Pick a model and ask
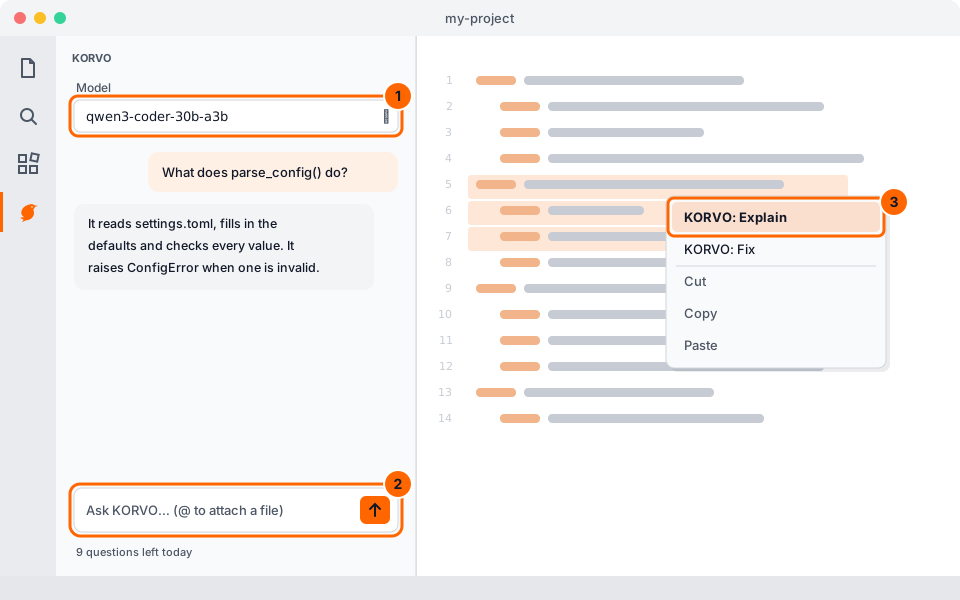
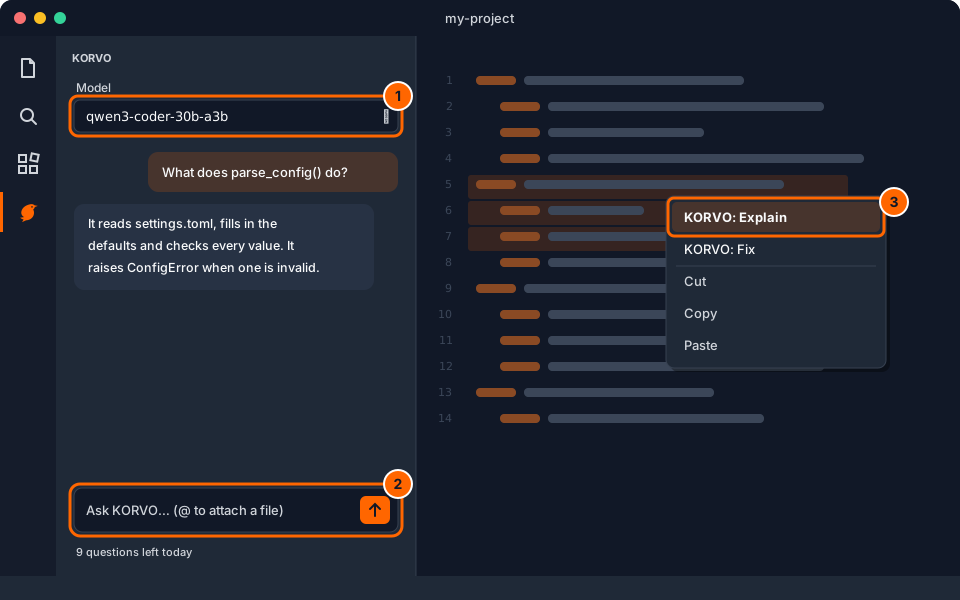
- Pick a model at the top of the KORVO panel.
- Type your question and press Enter. Type @ to attach a file from your workspace.
- Or select some code, right-click it and choose KORVO: Explain or KORVO: Fix.
Not connecting? The token may have expired or been revoked: create a new one in step 3. Lost a laptop? Revoke its token on My account.
What is recorded
Your questions and KORVO's replies are logged in full, as on the website. Files, selections and command output you share from VS Code are kept in your conversation history, but the activity log records only their names and sizes.